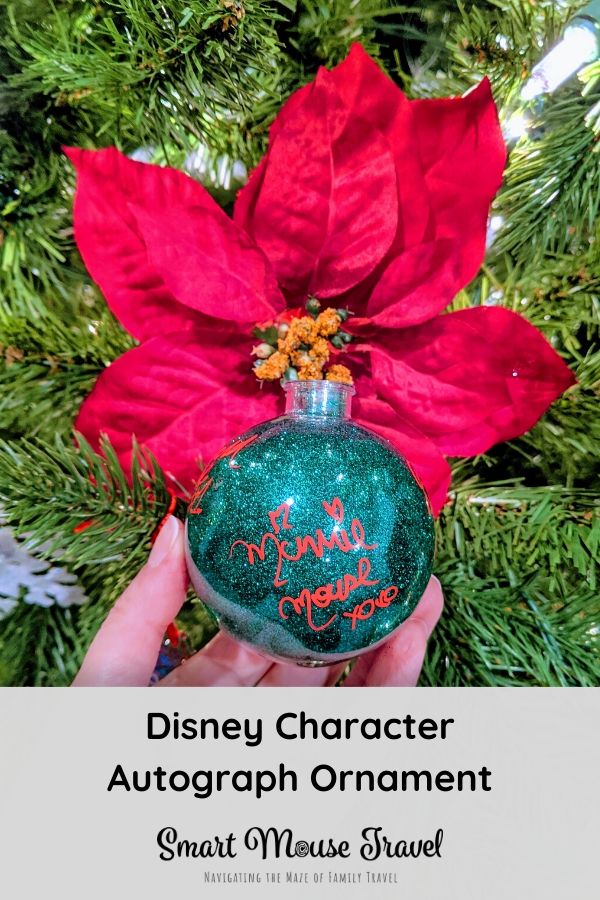
After years of collecting beautiful Disney autograph books that sat on a shelf, I have now started making more useful Disney character autograph book alternatives. Our first Disney autograph book alternatives were pillowcases, and these autograph pillowcases are some of my daughter’s favorite travel souvenirs. In my quest to find more autograph book alternatives, we’ve begun making Disney autograph ornaments to remember our vacation memories.
As an Amazon Associate I earn from qualifying purchases.
What Supplies Do I Need For A Disney Autograph Ornament?
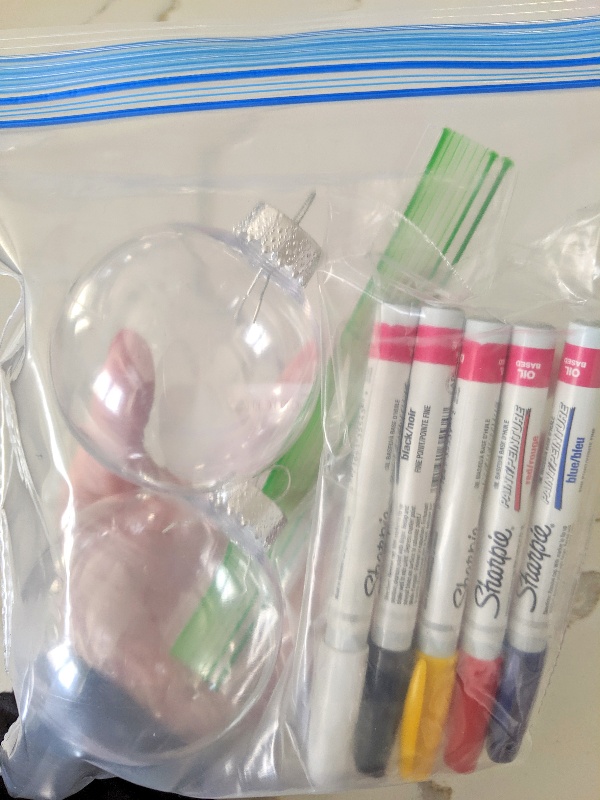
A Disney autograph ornament doesn’t require many materials. You only need plastic ornaments, oil-based Sharpie paint pens, and something to decorate the ornament with at home, if you choose to do so.
Plastic Globe Ornaments
Although glass ornaments are more traditional, I opted for plastic ornaments because they are easier to carry in my Disney park bag and less likely to break if a character drops it. A large container of inexpensive plastic globe ornaments has lasted us for several Disney World trips.
Here’s a link to similar plastic ornaments on Amazon (affiliate link: Buy on Amazon).
Oil-Based Sharpie Paint Pens
Since I want these Disney autograph ornaments to be family keepsakes, I did a lot of research on what writes best on plastic. While some people claimed regular Sharpies work, others said that the marker smeared when writing or faded over time.
Ultimately I chose oil-based Sharpie paint pens (affiliate link: Buy on Amazon). These paint pens are specifically recommended for use on plastic and other materials.
Our first Disney autograph ornaments are over 3 years old and still look as good as the day they were signed.
Ziptop Bags
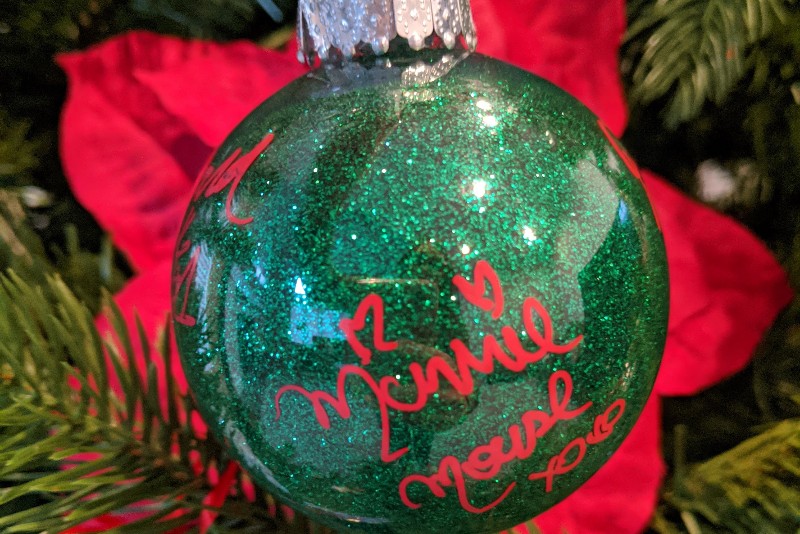
I use two ziptop bags when packing our Disney autograph ornaments. One sandwich size bag holds Sharpie paint pens to contain potential messes while a larger bag holds both the ornaments and paint pen bag.
Packing supplies this way protects the Disney autograph ornament plus keeps everything together. This makes grabbing supplies easy when meeting characters.
Can Characters Sign The Disney Autograph Ornament?
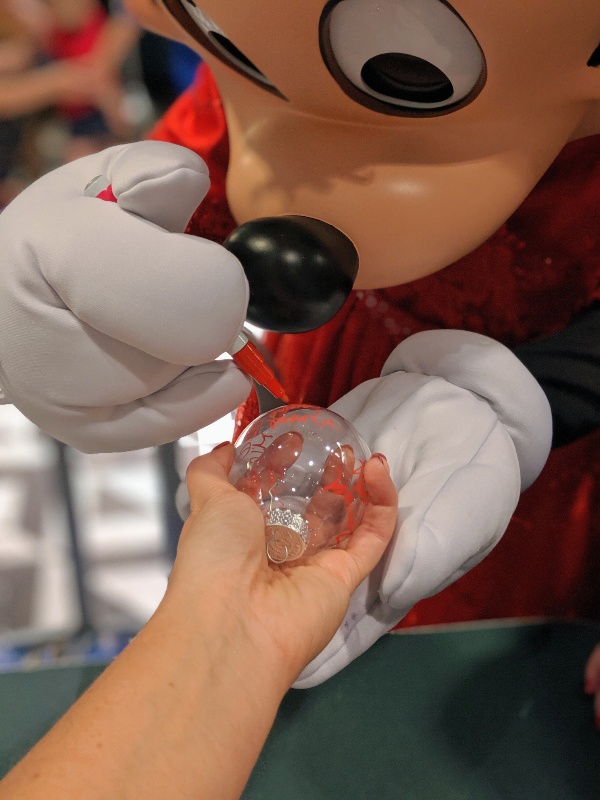
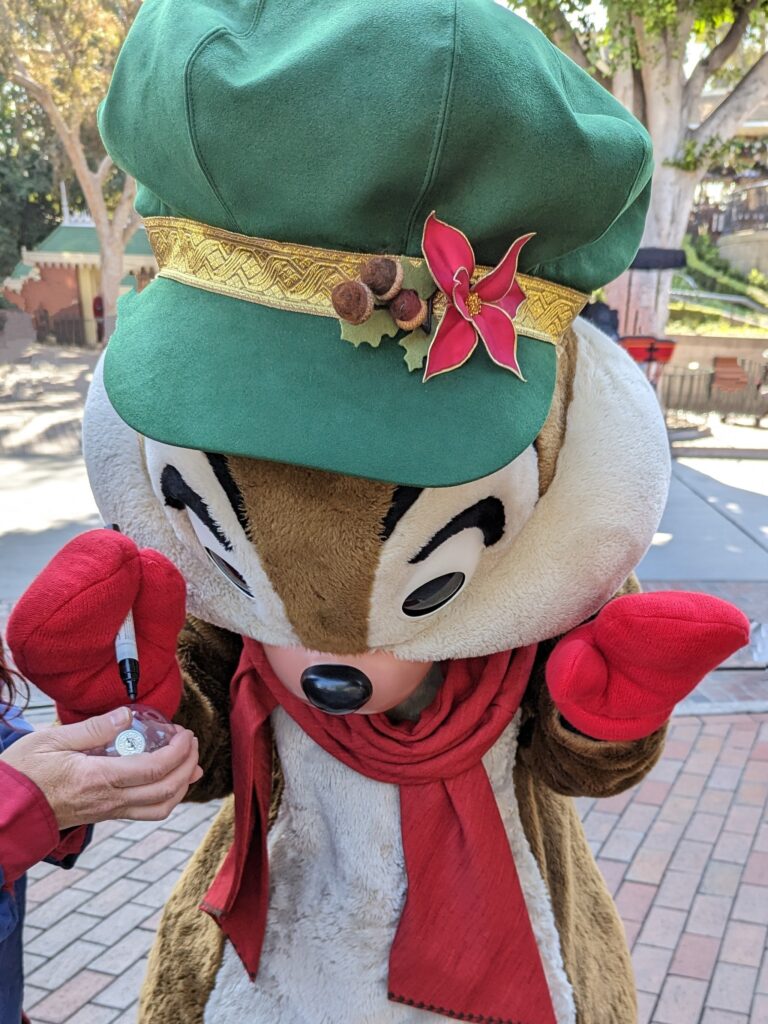
Yes! We brought our first Disney autograph ornament to Minnie’s Seasonal Dining character meal at Disney World.
Minnie and Mickey had a little trouble holding the ornament because of their thick gloves, but did fine with a little help from me. Donald, Daisy, and Goofy all managed to sign the autograph ornament without any issues.
After several trials we’ve found princesses and other similar characters easily sign Disney autograph ornaments. However, characters like Pluto have a little more trouble.
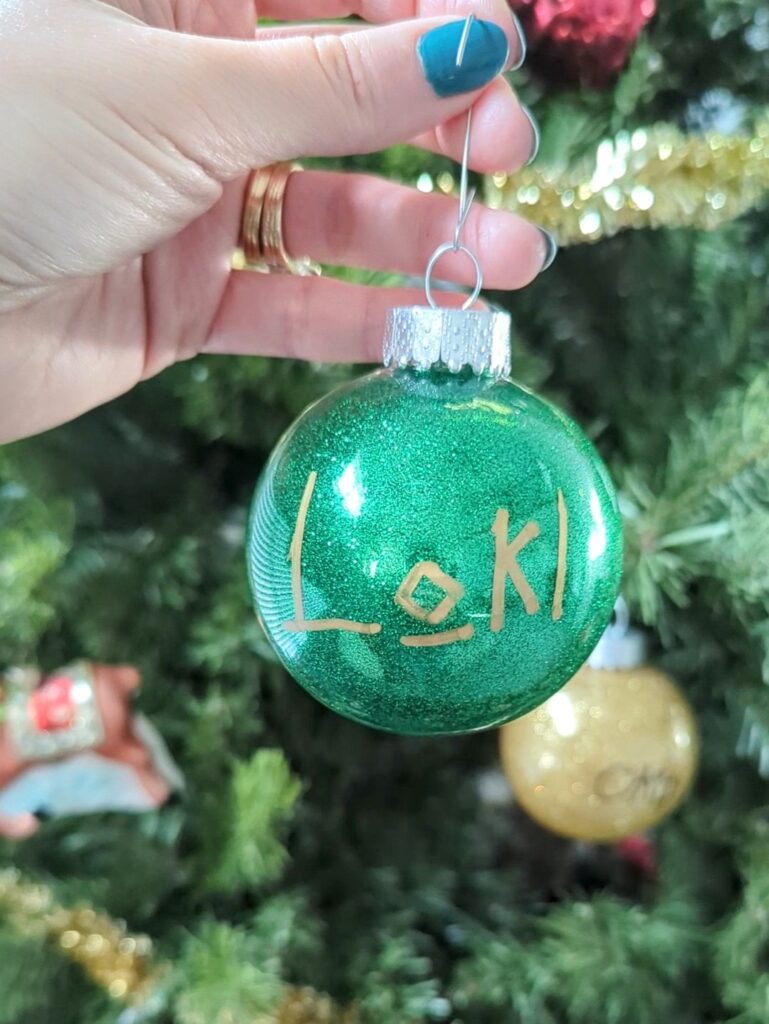
Since it takes characters a little longer to sign the ornament than a regular autograph book be thoughtful about those waiting behind you. Have your supplies ready and limit signing to one ornament by each character to avoid holding up the line.
The extra time to sign the Disney autograph ornament didn’t seem to be an issue during our character meal at Minnie’s Seasonal Dining.
Tips For A Beautiful Disney Autograph Ornament
Use Plastic Ornaments
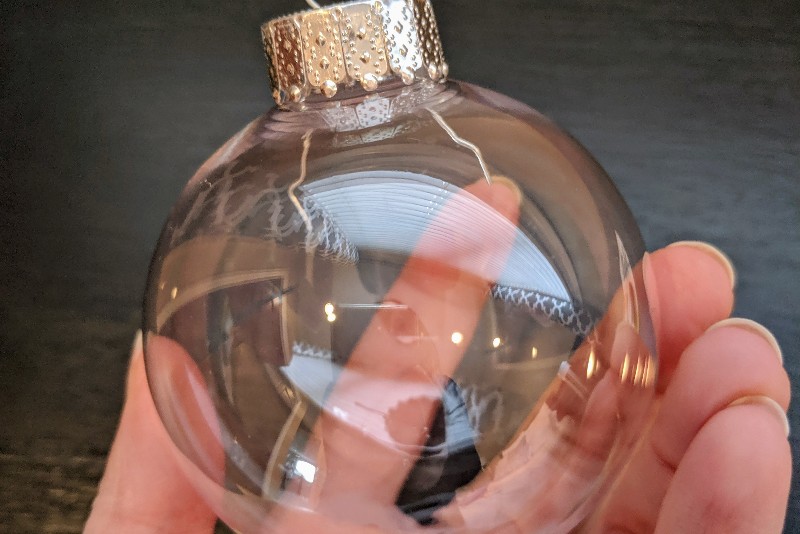
Using plastic globe ornaments worked very well. Characters like Minnie and Mickey had to hold the ornament tightly to sign it, and I think a glass ornament may have broken. It was also less worrisome to have a plastic ornament in my backpack throughout the day.
Read Instructions and Properly Prep The Oil-Based Sharpies
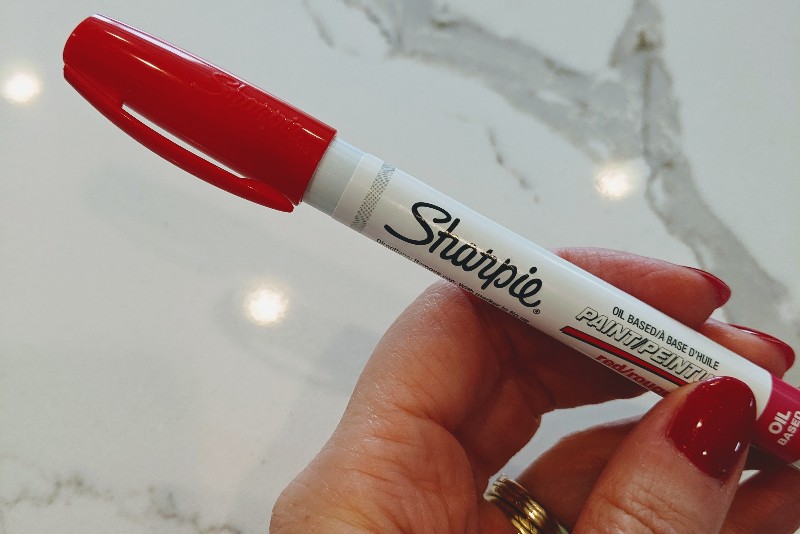
The oil-based Sharpie paint pens need some setup before use. I prepared the pens at home the day before we left, and they worked perfectly on our trip. Just like paint from a can, the paint in the markers needs mixing before use, so don’t skip this step.
Be Careful With The Paint Pens
The paint pens we use are meant to be permanent. I am incredibly careful not to get the paint on our clothes, the characters hands, or other parts of the ornament to avoid ruining these items.
Sometimes I get a little paint on my hands when characters hand the paint pens back to me, but it washes off skin with some scrubbing.
Bring Extra Ornaments
We were able to have 5 characters sign one ornament, but I don’t think it would have been possible to fit any additional autographs. The plastic ornaments are light and easy to pack so I always bring extras.
Personally I like the look of our Disney autograph ornaments best when they have multiple character signatures. This way character autographs are visible from several angles.
Some people prefer one autograph per ornament to fill out a Disney themed Christmas tree. It’s totally up to you which style you like better.
Write Location and Date On The Ornament
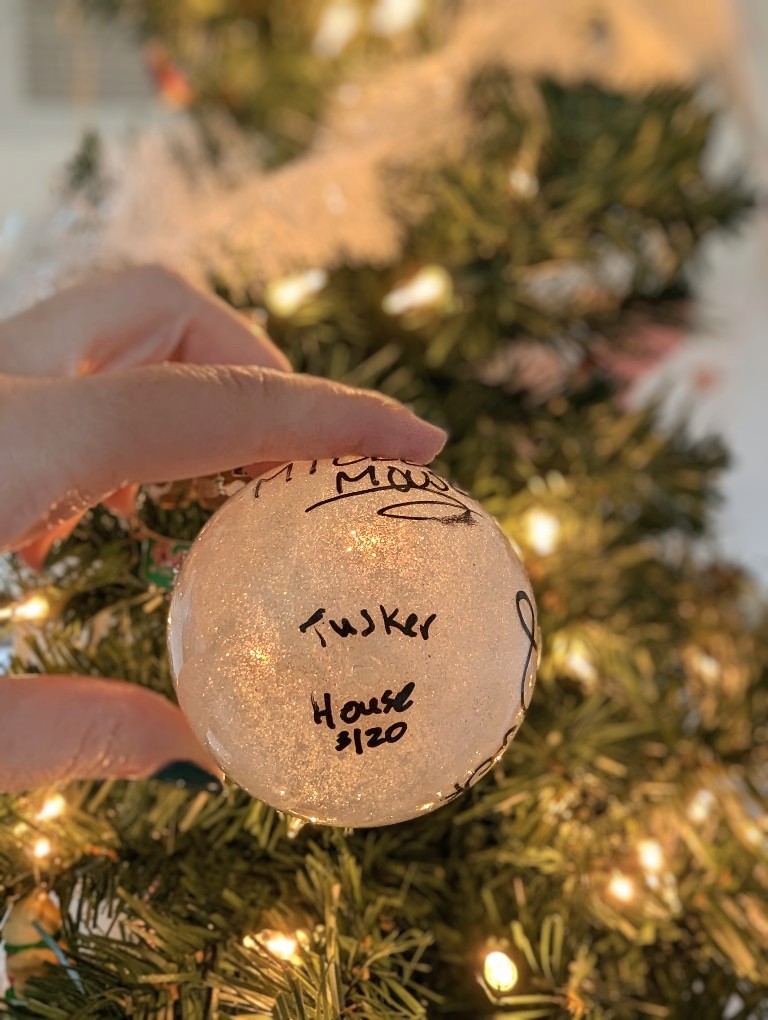
I use one of the paint Sharpies to write the date and location on the bottom of our ornament. This helps me remember exactly when and where we saw each of these characters.
Finish Decorating Your Disney Autograph Ornament At Home
We use clear plastic globe ornaments so the autographs do not show up well without additional decorating. Fortunately there are several great options to enhance your Disney autograph ornament’s appearance.
Choose a pre-colored plastic ornament for the characters to sign or fill the inside of the ornament once at home. Either of these options help the autographs show better on the ornament.
Disney Autograph Ornament With Tinsel
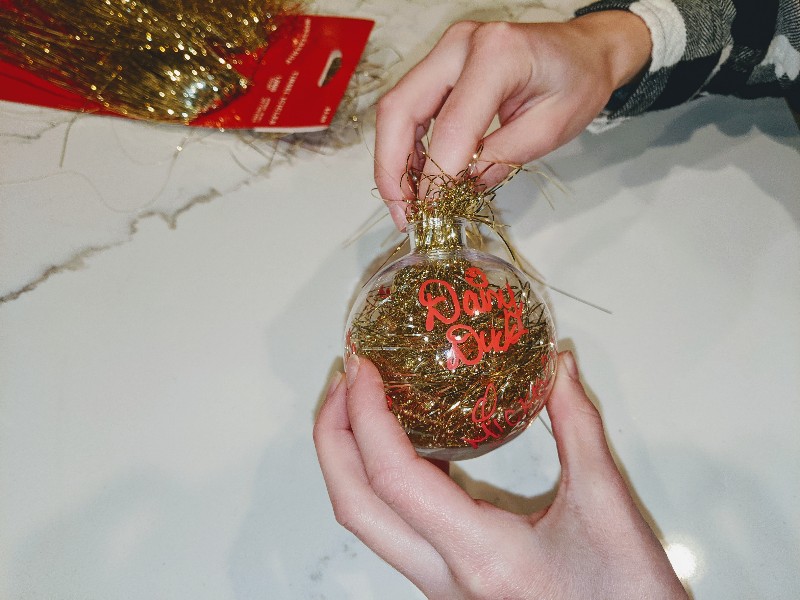
The simplest way to fill your Disney autograph ornament is with inexpensive tree tinsel. I bought a package of 1000 gold tinsel strands at Target for just $2.
Carefully remove the ornament cap and then push the tinsel strands inside the globe ornament. Continue filling the ornament until you are happy with the look. Place the cap back on the ornament and use pretty ribbon to make an ornament hanger or use a store bought hook.
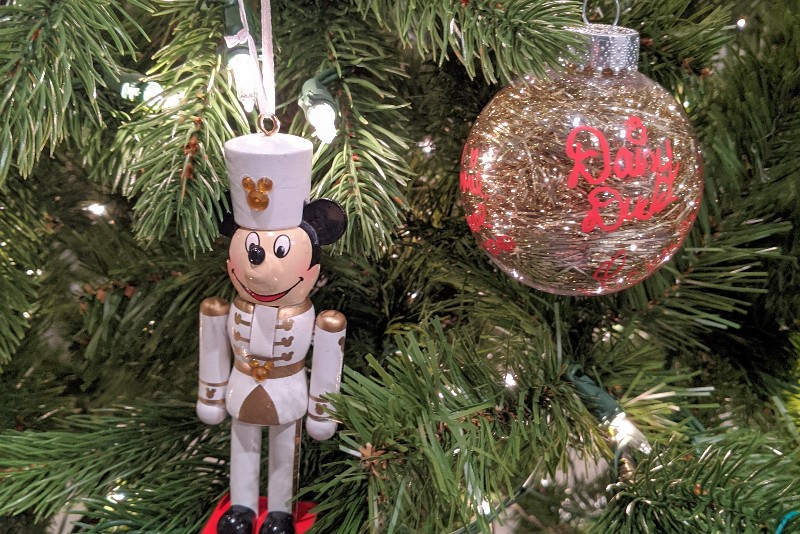
Make A Glittered Disney Autograph Ornament
Personally, I love a bit of sparkle for Christmas ornaments, so I love making glittered Disney autograph ornaments.
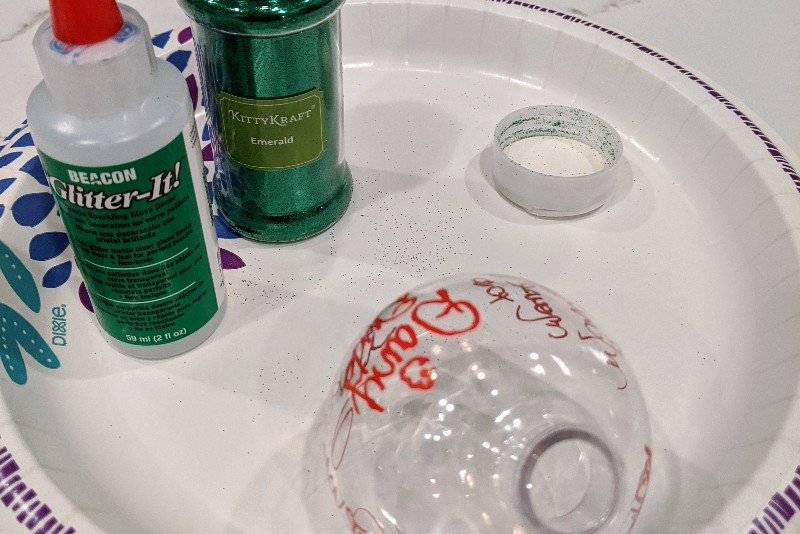
I used to use Pledge multi-surface floor cleaner, but after several years the glitter is starting to flake inside. Because of this flaking I started using Glitter-It, a product made specifically for glittering ornaments (affiliate link: Buy on Amazon).
Glitter-It glue has a thin consistency which makes it easy to coat the inside of the ornament. Our first Disney autograph ornament using Glitter-It still looks great after 3 years of use and storage.
Before starting to glitter your ornament, gather supplies. We always open the glitter, Glitter-It, and remove the ornament cap before starting our project. Avoid damaging surfaces by working over a large paper plate or some aluminum foil.
First, pour Glitter-It into the ornament then carefully turn the ornament. This achieves an even coating along every surface.
Do not shake or the glue forms bubbles and then the glitter doesn’t coat properly. Apply a layer of glue around the top edge and neck of the ornament for a beautiful glitter coat.
Avoid wasting or spilling glue by having a disposable cup or Glitter-It bottle to catch the excess glue after coating. After applying glue, it’s time to pour glitter into the ornament.
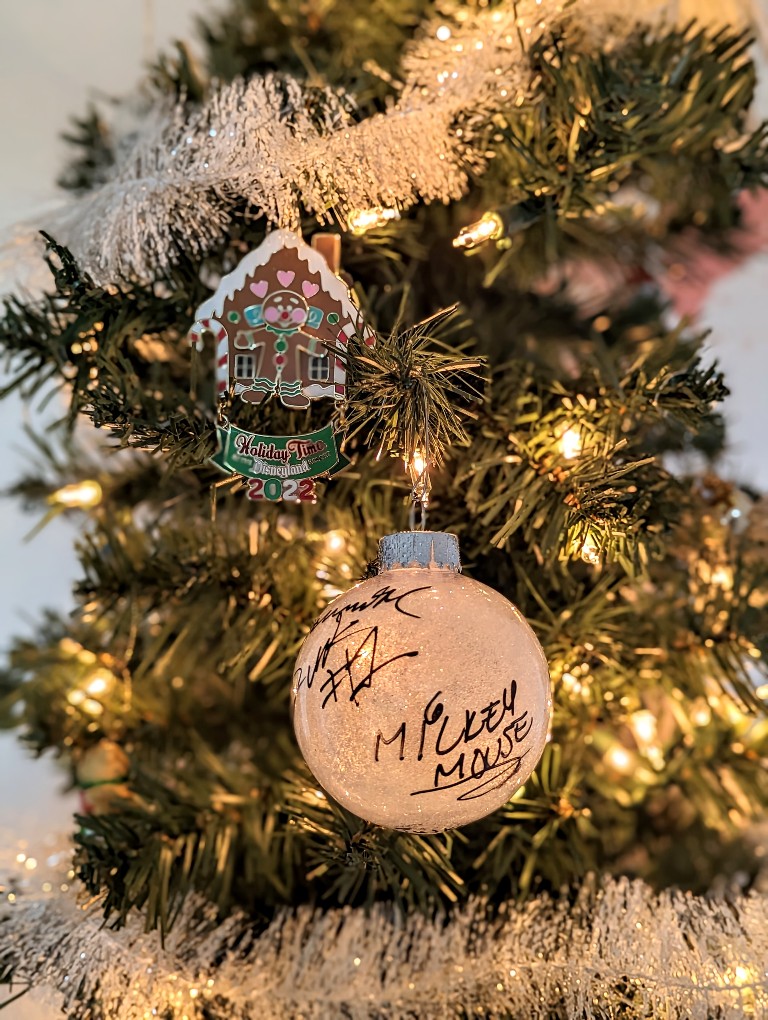
Carefully swirl to coat glitter on the entire ornament. After fully coating the ornament, put leftover glitter back in your storage container or dispose of it.
Let the ornament sit open for 24 hours so the glue can set properly. After 24 hours place the ornament cap back on and use a hook or ribbon to hang the ornament from your tree.
Final Thoughts On Making A Disney Autograph Ornament
Disney autograph ornaments are an easy project that make for great and inexpensive souvenirs. The most important part of the project is ordering the correct oil-based Sharpie paint pens. The only other important decision is if you want clear plastic ornaments you finish later or color ones that are done with no additional work.
Our ornaments have turned out great and we continue using this Disney autograph ornament option as a Disney autograph book alternative. If you want to learn more about our Disney autograph pillowcases you can find the full tutorial here.
Pin it for later:
